Korg Forums A forum for Korg product users and musicians around the world. Moderated Independently. Owned by Irish Acts Recording Studio & hosted by KORG USA
Joined: 02 Jan 2002 Posts: 18197 Location: Ireland
Posted: Sun Nov 22, 2015 3:08 am Post subject:
Hi all.
Ok, here are 30 images of the build and one video at the end showing it complete. This was by far the easiest build ever for me. This Crosair 380T case is a fantastic design. Very easy to work with.
Just two points really to make.
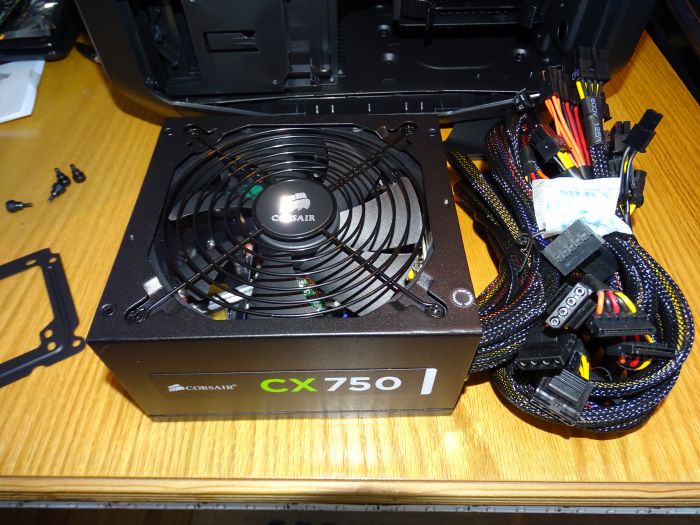
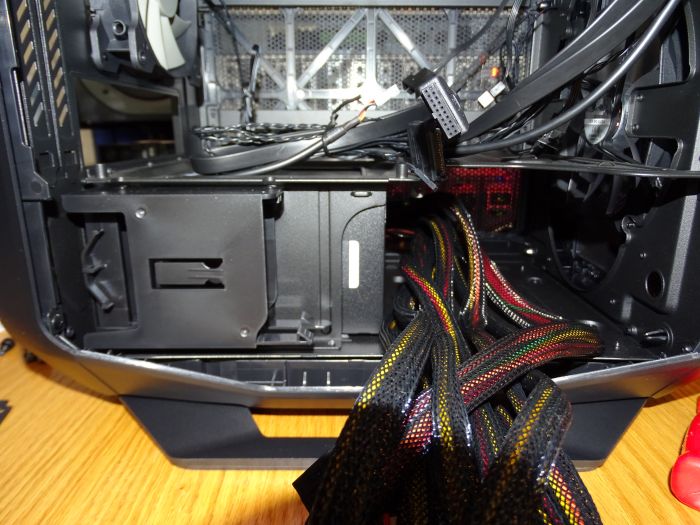
1: Looking back, the only thing I would have done differently is purchased a different PSU. While the one I did purchase works perfectly and it's whisper quite, I should have purchased one that had removable cables. Purely only to have no unnecessary cables left inside the case to tidy and hide away.
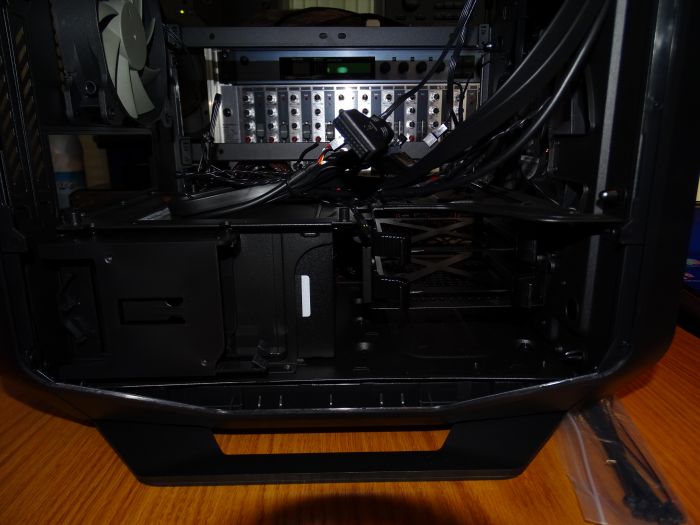
2: There are 3 cables that come from the front panel of the Case. There is no reference to these cables in the documentation so it took me a while to figure out what they were for. I had assumed I needed to run power to them in order to power the front control panel LED's, but in fact they are actually power cables for driving additional cooling cans. The 3 cables are getting their power from a different front panel cable, the USB3 cable that connects to the motherboard. So there's clearly some sort of power splitter behind the front panel that's routing power from the USB3 cable out to these 3 cables. Anyway, long story short, the front fan in the case needs to be plugged into one of these cables, leaving two free for additional fans.
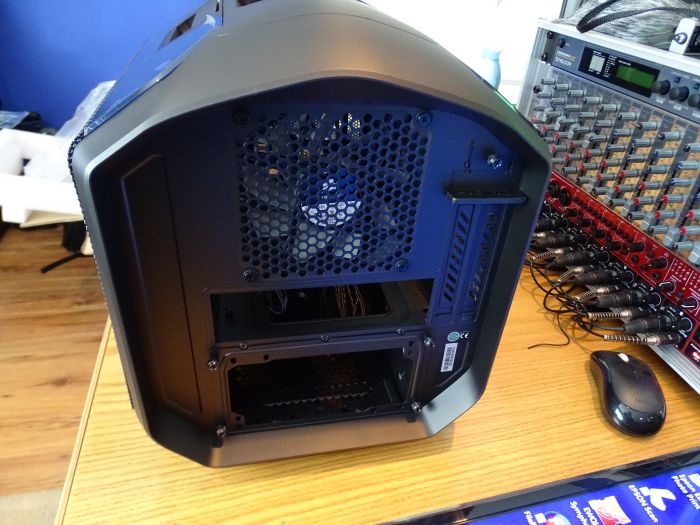
Image 01 Empty Case Side View
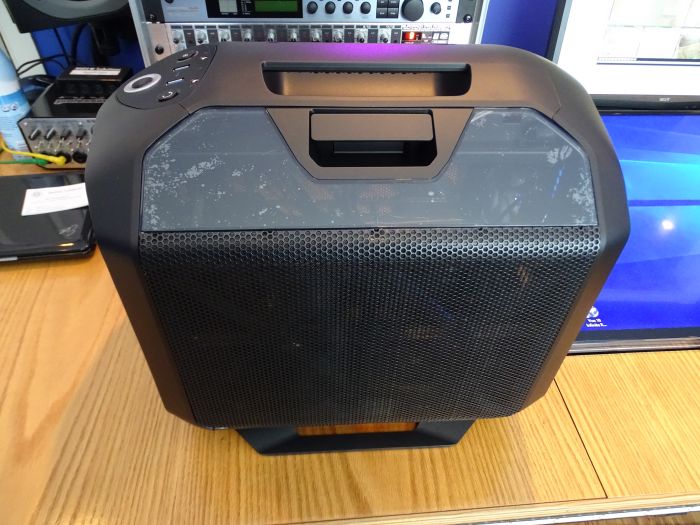
Image 02 Empty Case Front Panel View.
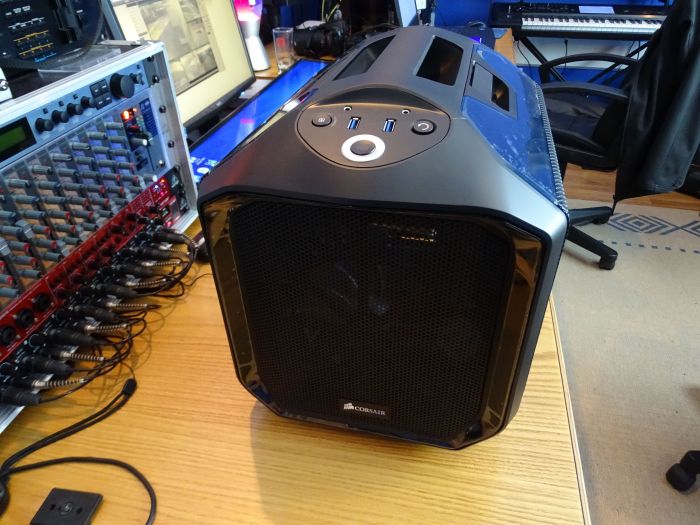
Image 03 Empty Case Front View.
Image 04 Empty Case Rear View.
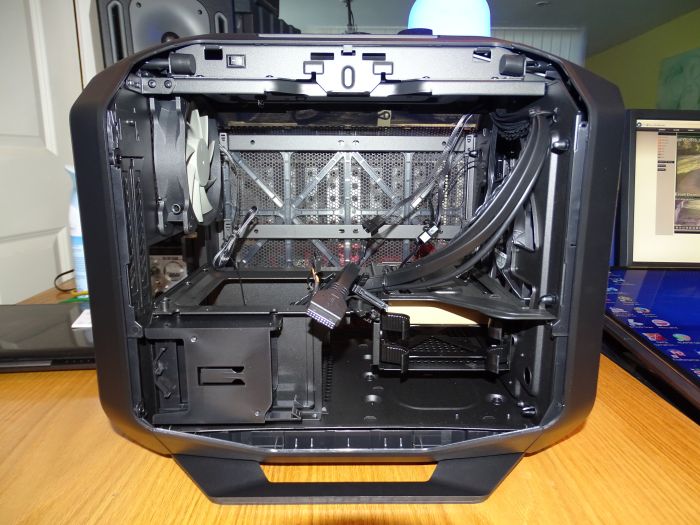
Image 05 Removal of the side panel.
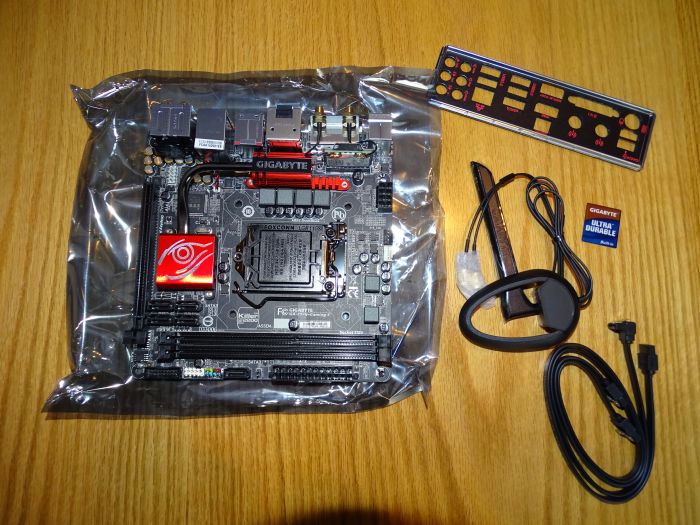
Image 06 Preparing the Motherboard.
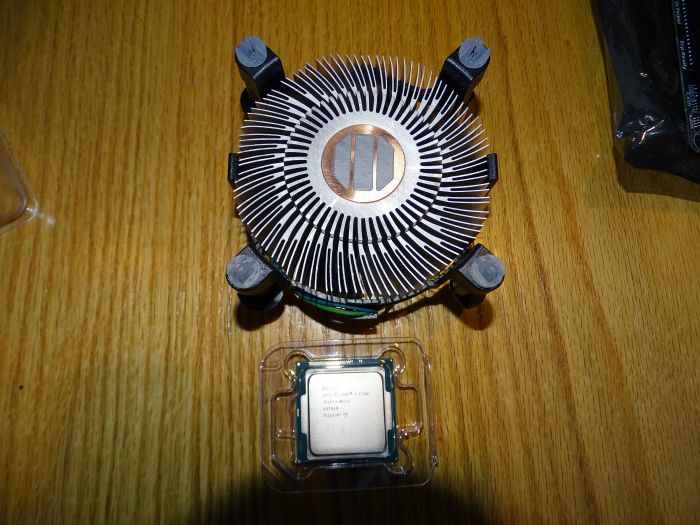
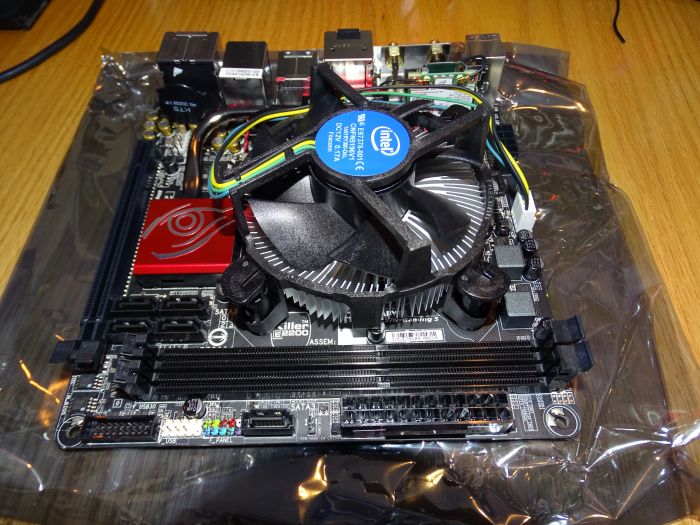
Image 07 Preparing the CPU and Cooler to be installed into the Motherboard. The stock cooler comes with thermal paste already applied.
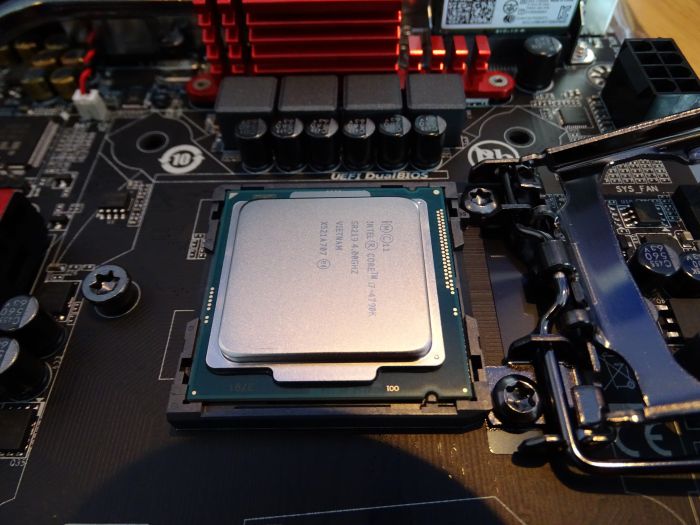
Image 08 The CPU is put into place on the motherboard.
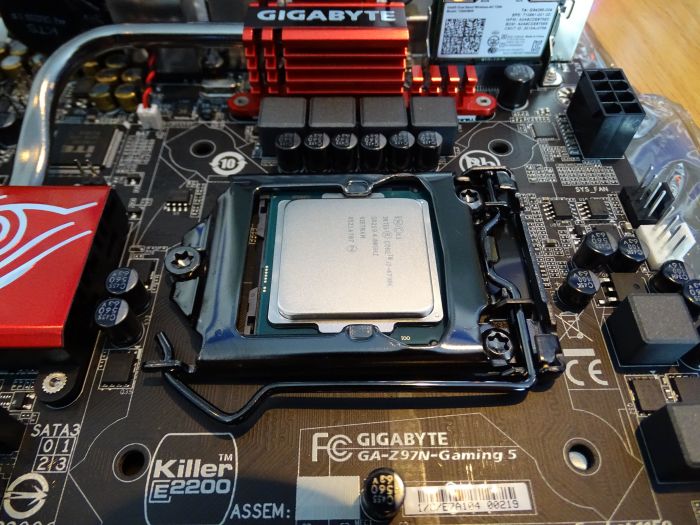
Image 09 The CPU is locked into place with the metal arm on the motherboard to secure the door over the CPU.
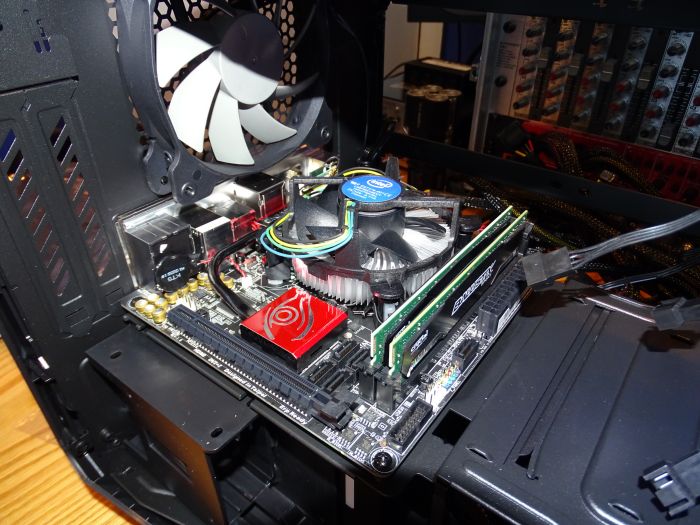
Image 10 The Cooling Fan is placed in over the CPU and it's 4 mounts are aligned with the 4 mounting holes on the motherboard. To mount the Cooling Fan you simply push it in and it locks into the holes. No screws are required at all.
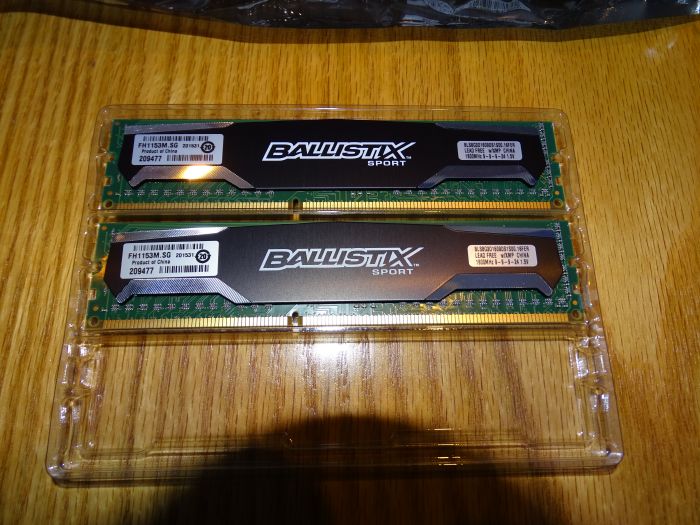
Image 11 Preparing the RAM for installation.
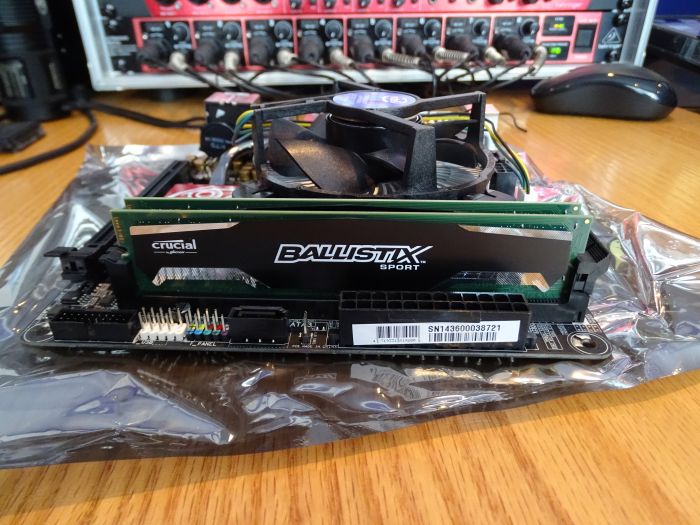
Image 12 The RAM has been installed into the Motherboard.
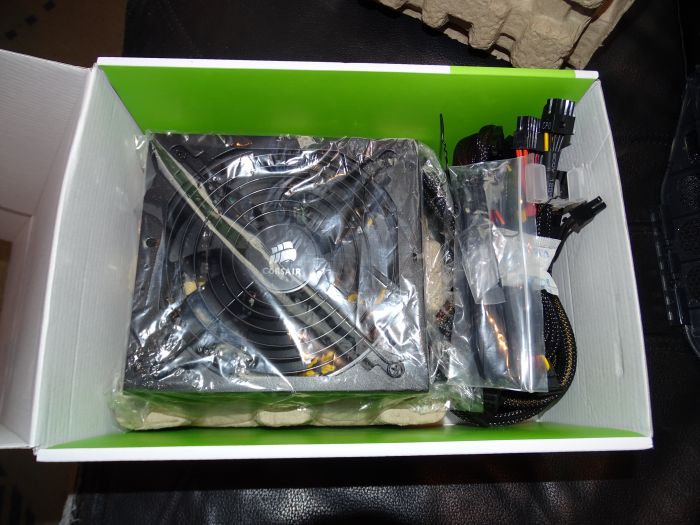
Image 13- Removal of the PSU from it's packaging.
Image 14- Preparing the PSU for installation into the case.
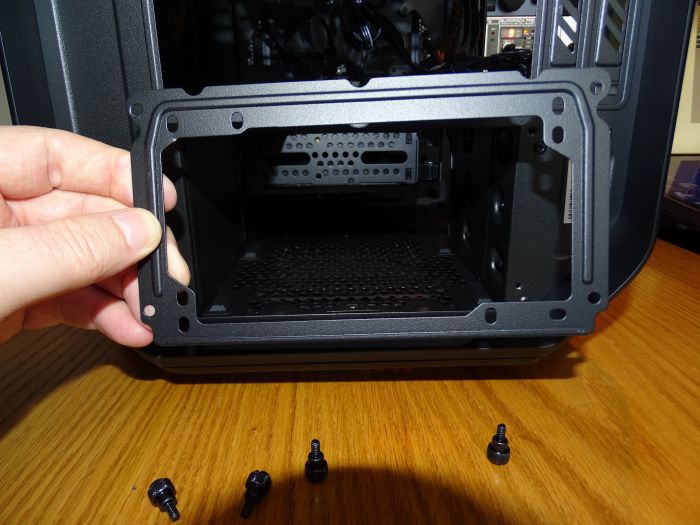
Image 15 Removal of the plate that will hold the PSU in place from the Case.
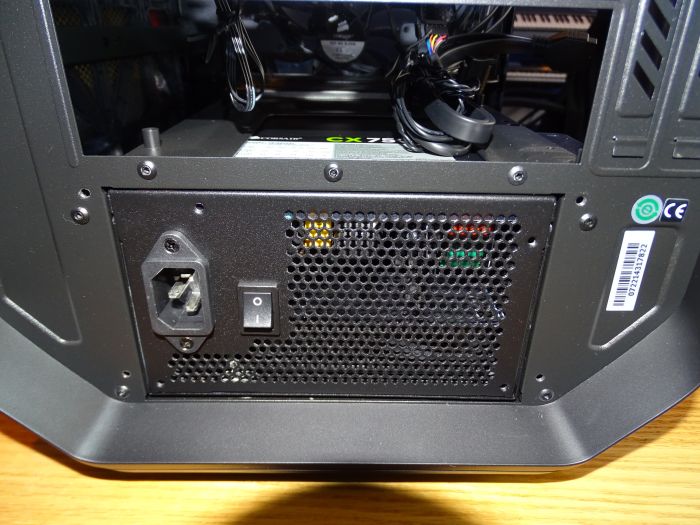
Image 16 The PSU is pushed though the opening and installed from the rear of the case.
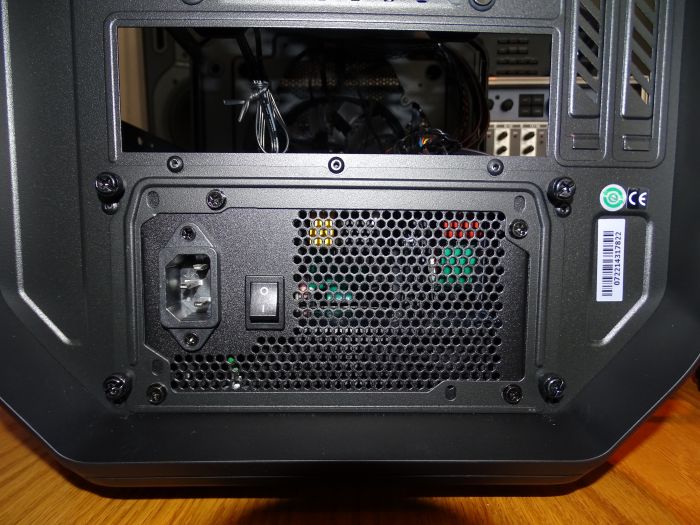
Image 17 The PSU is secured into place by reinstalling the Case mounting plate.
Image 18 Side view of the case with the PSU installed. (note that at this moment in time I've also removed the 3.5 Inch bay from the case to give me room.
Image 19 The 3.5 Inch Bay is reinstalled and all the PSU cables have been routed to the opposite of the case.
Image 20 Time to install the Motherboard. I've just installed the Motherboard Plate into he back of the case opening. It's simply pressed into place from the inside of the case.
Images 21 The motherboard is installed. There are only 4 screws that hold it in place due to the small size of the board.
Image 22 The SSD is removed from it's packaging.
Image 23 The SSD is slipped into it's Bay (bottom left) and a SSD Cable and Power Cable is run to it.
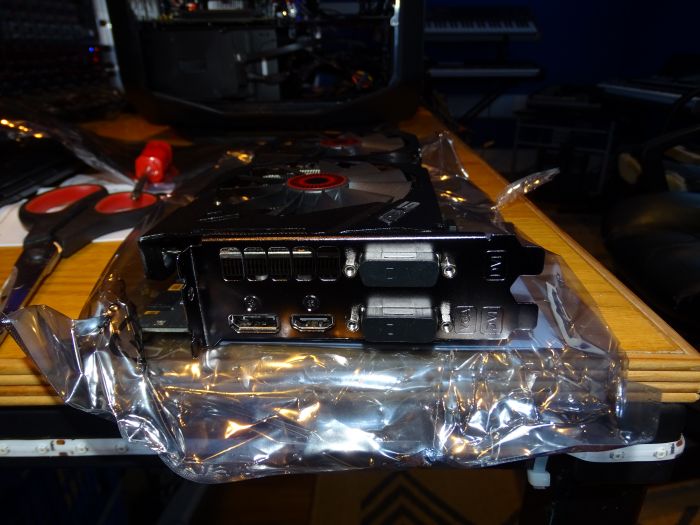
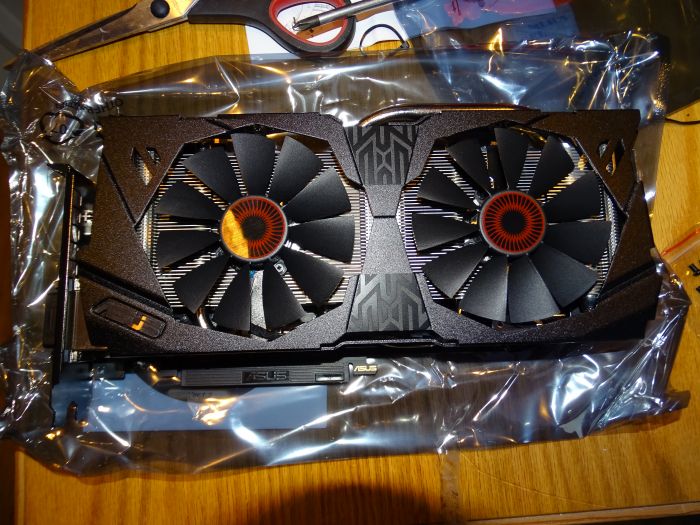
Image 24 The GPU is removed from it's packing.
Image 25 GPU side view before intalling.
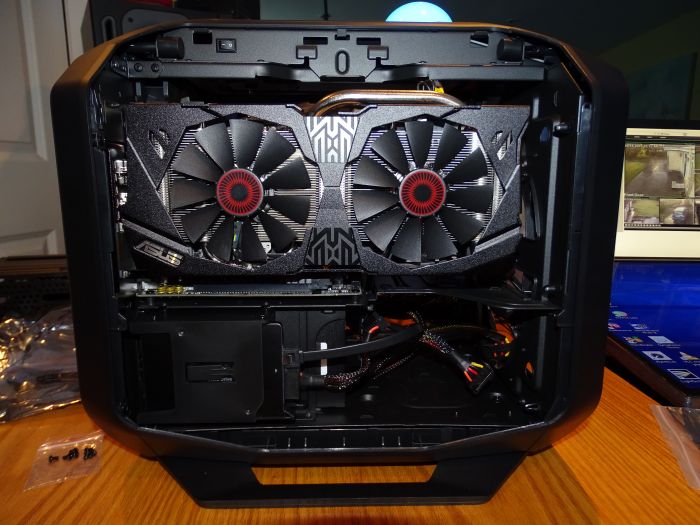
Image 26 The GPU is installed into the only PCIe X16 / 3.0 socket on the ITX motherboard. I also connect the additional power cable the GPU requires. (White socket over the right hand fan)
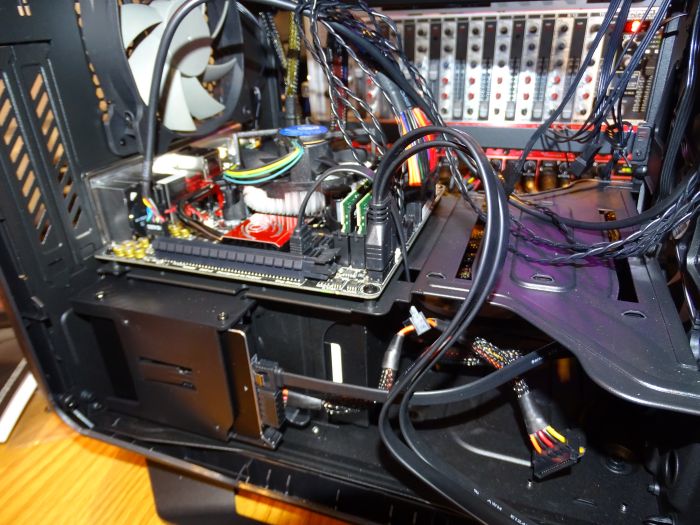
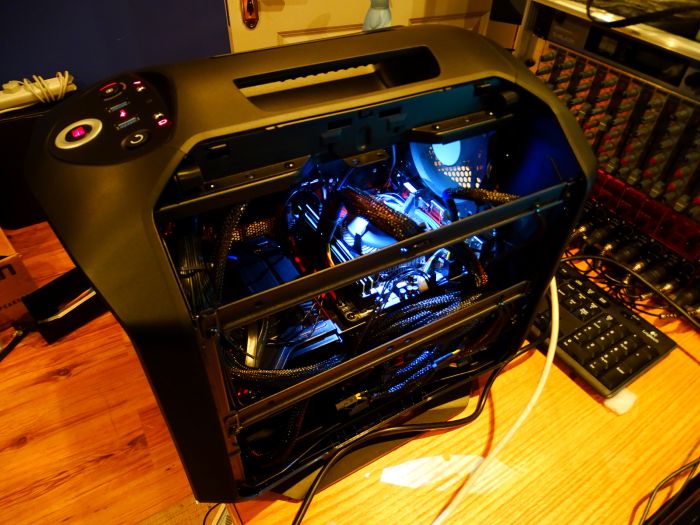
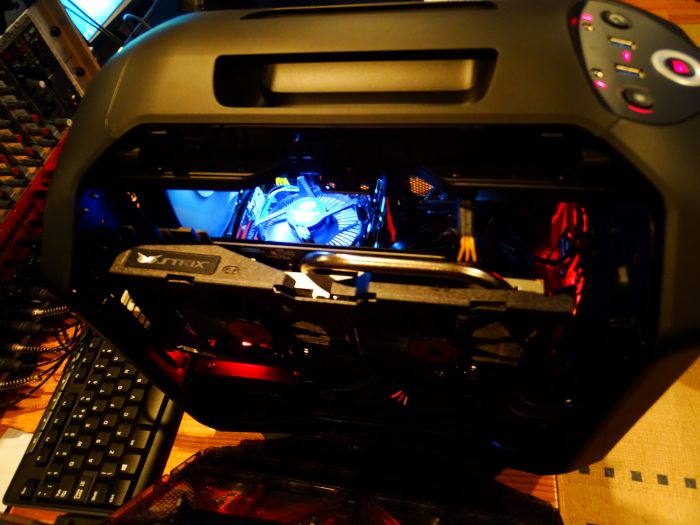
Image 27 Tidy up time. Using Cable Ties I arrange all the cables neatly. Key point to note here is that the GTX 970 is a long card, and considering this is a portable VR build, when you move the case the rear of the GTX970 has as certain amount of moment to it. To eliminate this I secured the power cable going to the Card to the top of the case. This completely eliminated all moment in the back end of the GTX970 during transport.
Image 28 A view from the GPU side with the system powered on.
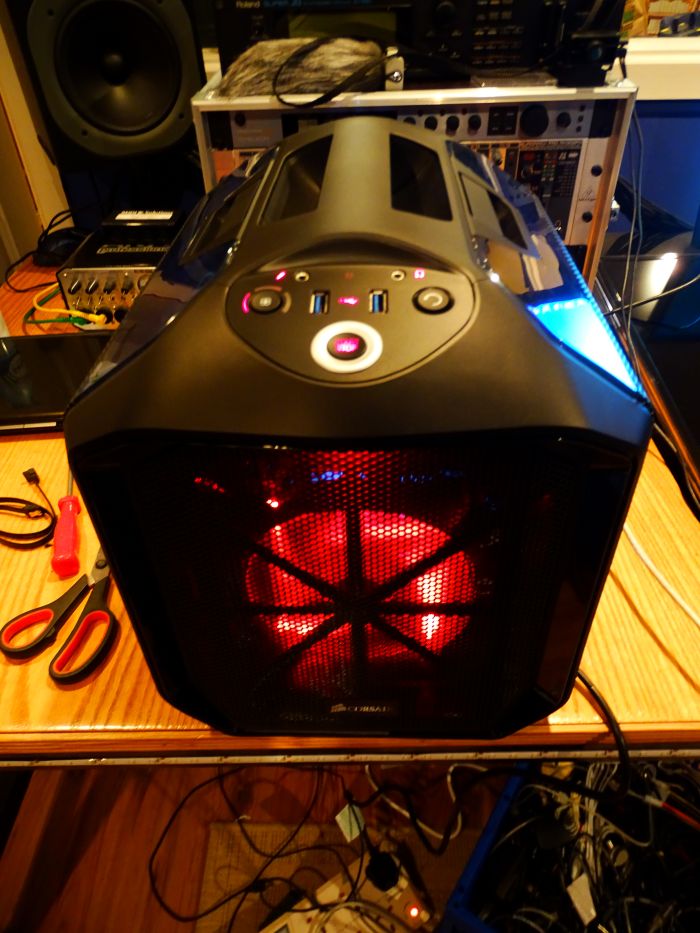
Image 29 Front panel view of the case while powered on.
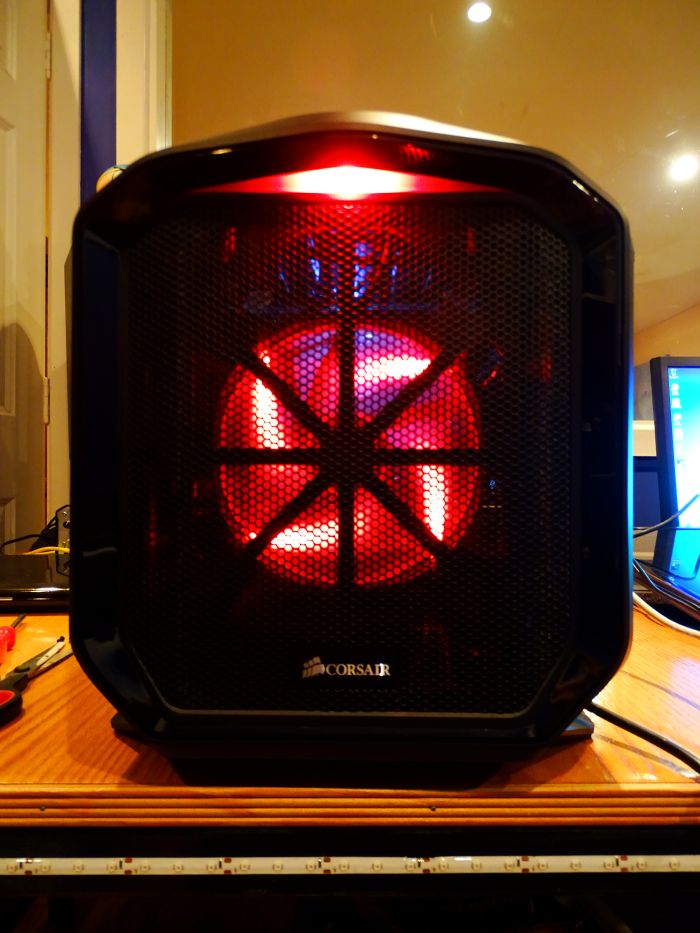
Image 30 Front view of the case.
YouTube Video of the final build.
If anyone needs full res images, just let me know.
I am old school of hardknocks...
Using best hardware is something that most of us are striving for.
However, there is a very import part (that you might have ) put aside by most builders.
How much 100% compatible with each others all those parts put together are?
And that is when a laborious survey comes to place; which is to contacting manufacturers, going down on hard-data with them, pulling info, making sure that all parts will "smoothly" work together.
Joined: 02 Jan 2002 Posts: 18197 Location: Ireland
Posted: Wed Nov 25, 2015 10:47 am Post subject:
Hi elobo.
Quote:
USB 3? I am assuming it came by default
Yes, 6 of them.
Quote:
How much 100% compatible with each others all those parts put together are?
It's 100%, but that's no accident. You have to know exactly what you need to order. Building your own PC is only for those who know exactly what all the specifications mean.
For example, a Intel Skylake processor will not even fit the motherboard I purchased. You need to know exactly what parts go with what when ordering.
You cannot post new topics in this forum You cannot reply to topics in this forum You cannot edit your posts in this forum You cannot delete your posts in this forum You cannot vote in polls in this forum